Setting up a Dual SIM from an eSIM QR code
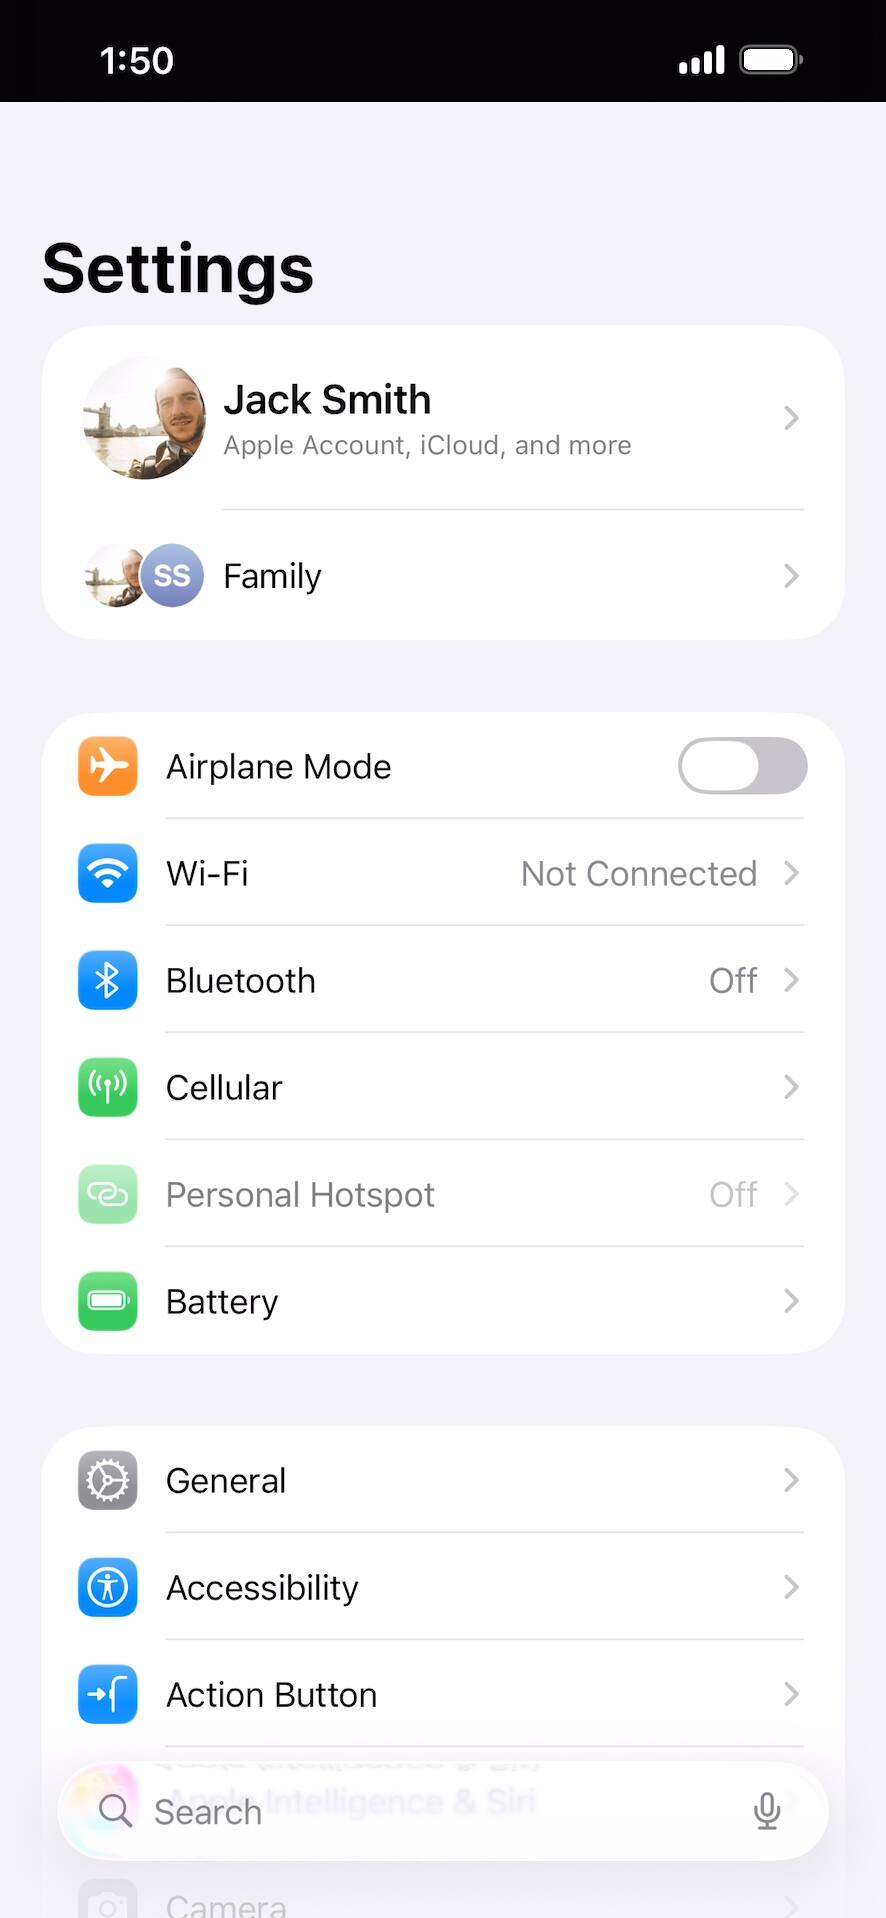
Within the Settings app, tap Cellular.
Assuming your carrier has given you a QR code to activate the eSIM for your new cellular plan, have that code ready to scan. Cellular may be called Cellular Data or Mobile Data on your device.
Tap Add eSIM.
Your options may differ from what is being displayed.
Tap Use QR Code.
Tap Scan QR Code.
Place the QR code provided by your carrier within the camera frame.
You can tap Enter Details Manually if your carrier didn’t provide a QR code. The rest of this tutorial will assume you’ve scanned a QR code with your device.
Tap Continue.
Your device will begin to activate your new eSIM. This process may take several minutes.
Confirm your data plan and tap Continue.
Be sure to select the correct plan for the QR code your carrier provided.
Tap Continue again.
Tap Continue again.
You can give each of your cellular plans a label, such as “personal” or “business.” This makes it easier to pick the right plan for calls and messages, or when selecting a default plan and number to use with specific contacts.
Select a default plan for calls and messages. Tap Continue to select one for iMessage and FaceTime.
The labels will match whatever you set in the previous step.
Select the default plan and number to use for cellular data. Tap Done to complete eSIM setup.
When you’re on a call on one line, your device can use your other line for data if you enable Allow Cellular Data Switching.
You've completed the steps!