Mobile Hotspot Wi-Fi Not Found
In this tutorial, you will learn how to:
• Wake the device • Change Wi-Fi Bands
• Disable or re-enable Wi-Fi
• Configure access controls from the web
• View Network status on the device
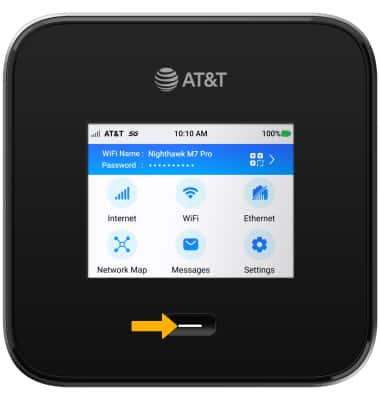
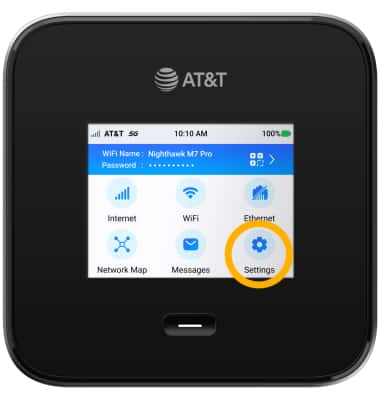
Wake the device
If the device is unplugged and the Wi-Fi network is inactive for five minutes the Wi-Fi network will go on standby. If the Wi-Fi network cannot be found on a Wi-Fi enabled device, the NETGEAR Nighthawk™ M7 Pro might be asleep. To wake up the device, press the Power button.
Note: To change the Standby time, from the home screen select Wi-Fi > Options > Wi-Fi Standby > desired option.
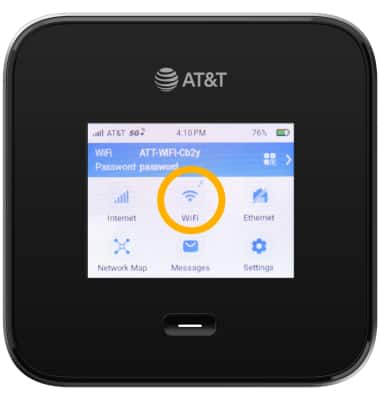
Change Wi-Fi Bands
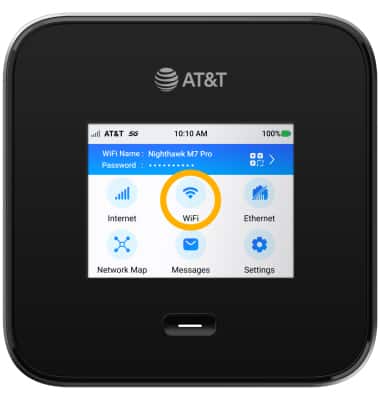
1. From the home screen, select Wi-Fi.
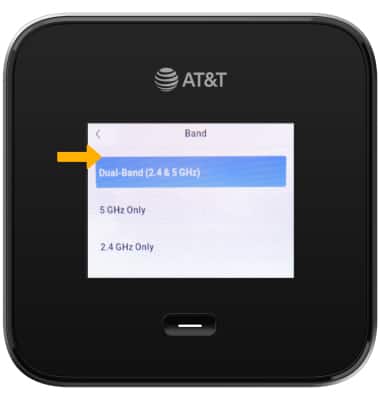
2. Select Band.
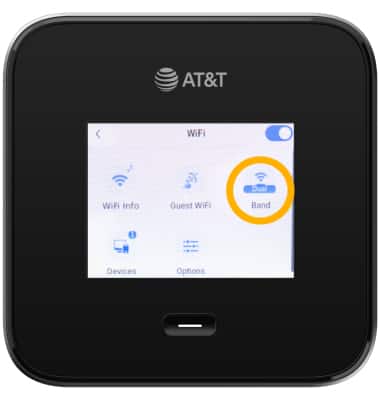
3. Select the desired Wi-Fi band. In most situations, Dual-band is more likely to work across a variety of devices.
Disable or re-enable Wi-Fi
1. From the home screen, select Wi-Fi.
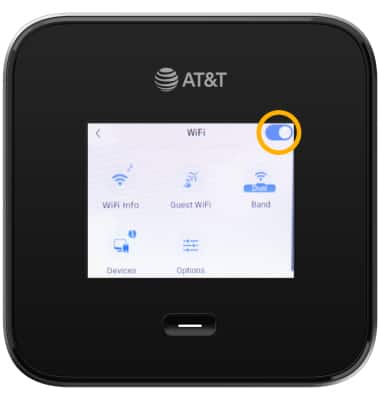
2. Select the Wi-Fi Signal switch.
Configure access controls from the web
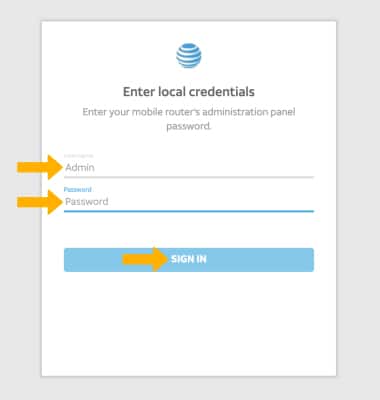
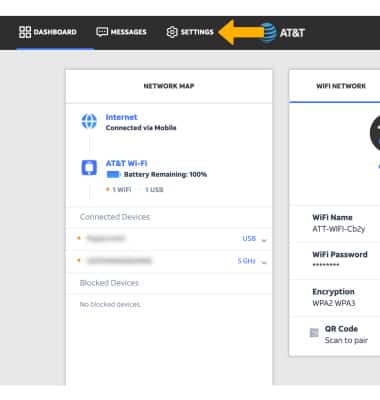
1. From your device's web browser, go to http://attwifimanager or type 192.168.1.1 into the search bar. Enter your Username and Password, then click SIGN IN.
Note: Ensure that your device is connected to the Netgear Nighthawk's Wi-Fi network. For more information, please see the Connect Devices to Wi-Fi or Connect PC or Mac to Wi-Fi tutorials.
2. Click SETTINGS at the top of the screen.
3. Click Security, then click Access Controls.Ensure that the Enable checkbox is selected.
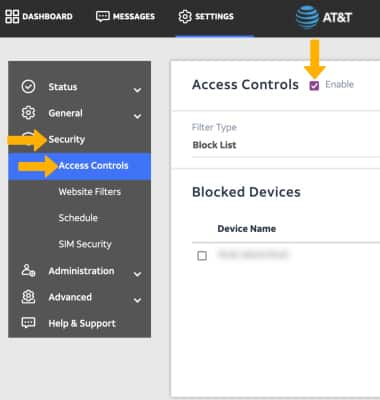
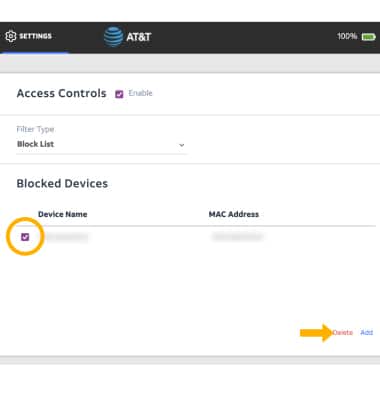
4. Ensure that the device that is unable to connect to the NETGEAR Nighthawk™ M7 Pro's network is not on the block list. If the device is on the block list, click the checkbox next to the desired device, then click Delete.
Note: By default, Access Controls will be set to a Block list. If you would like to switch to an Allow list, select the Filter type drop-down, then select Allow list. If you are using an Allow list, ensure the device you want to use is on the Allow list.
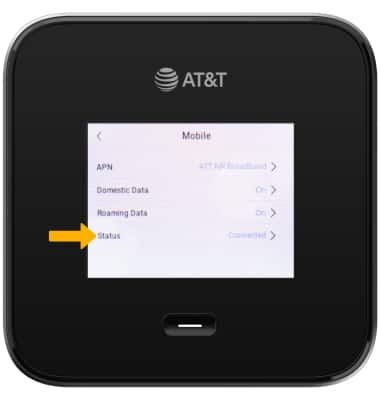
View Network status on the device
1. From the home screen, select Settings.
2. Select Mobile.
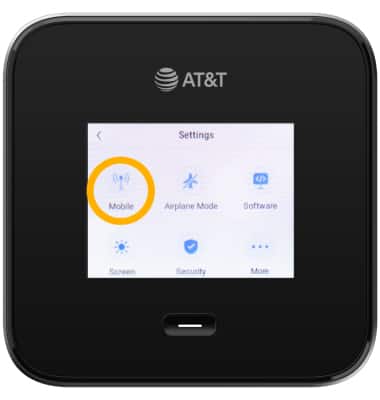
3. Select Status. The device's connection status will be displayed.