Connect WPS Devices
1. Ensure that Wireless is enabled on your connected device.
Note: For this demonstration, a printer has been chosen to show the WPS connection process.
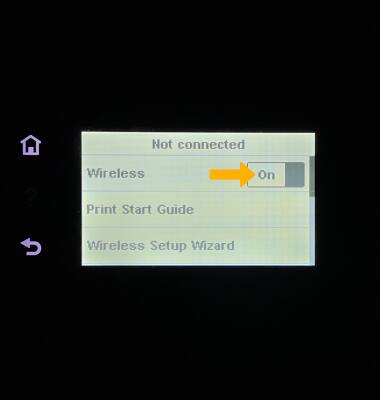
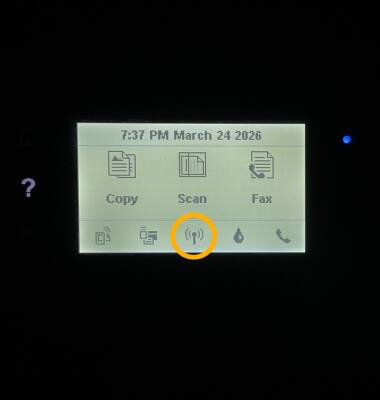
2. On your printer, select the Wireless icon, or Wireless button if available.
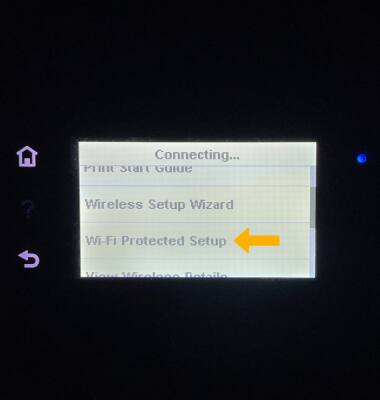
3. Select the  Settings icon. Navigate to and select Wi-Fi Protected Setup.
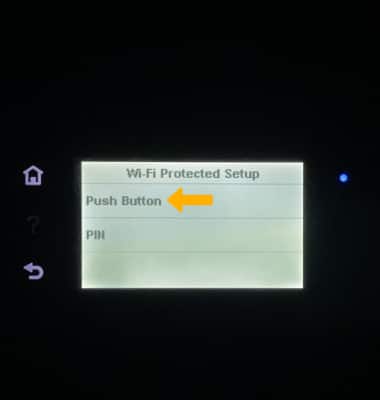
4. Select the desired Wi-Fi Protected Setup option.
Note: For this demonstration, Push Button was selected.
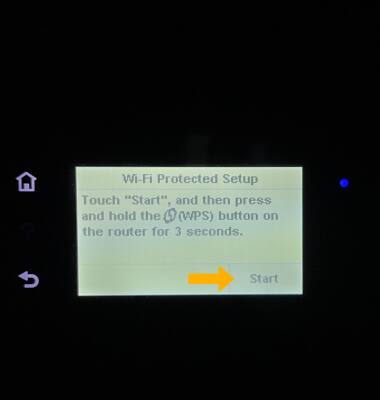
5. Select Start.
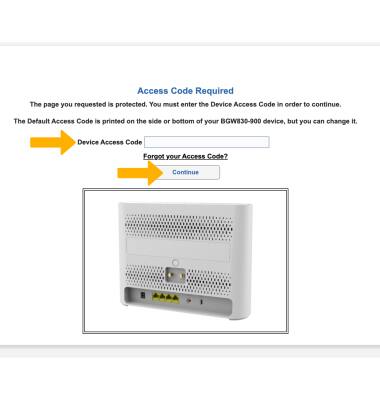
6. To start a WPS connection, you must be logged into the web UI. From your device’s web browser, go to https://192.168.1.254. Enter your Device Access Code, then click Continue.
Note: Ensure that your device is connected to your AT&T BGW830's Wi-Fi network. For more information, please see the Connect Devices to Wi-Fi or Connect PC or Mac to Wi-Fi tutorials. Enter the access code printed on the label on the back of the device.
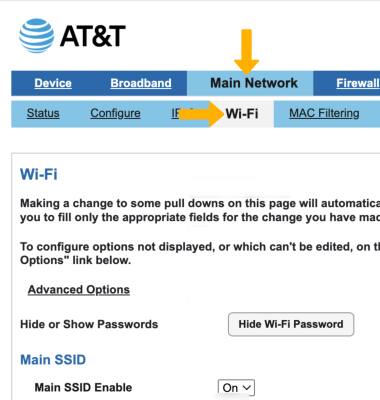
7. Click the Main Network tab, then click Wi-Fi.
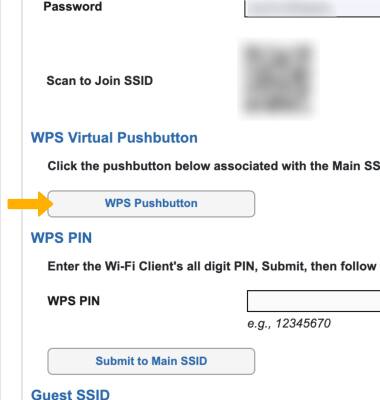
8. Scroll down and click WPS Pushbutton. The devices will take a moment to establish a connection.