How do I set up a PPPoE or Enternet 300 Connection for Windows and Mac?
Learn how to set up a PPPoE or Enternet 300 Connection for Windows and Mac.
You’re viewing instructions for
Operating System
Windows XP
KM1195460-slctrgrp_winxp
Set up a PPPoE or Enternet 300 Connection
To connect to the Internet, you need to create a DSL connection profile in your PPP client software (such as Enternet 300 or the Windows XP PPPoE software) that contains your AT&T Member ID and password. Your PPP software uses this profile to authenticate your DSL connection.
To create a new DSL connection profile for Windows XP:
The Windows XP operating system includes its own PPPoE software. You should use it instead of Enternet 300.
If you are setting up your connection for the first time:
To create a new DSL connection profile for Windows XP:
The Windows XP operating system includes its own PPPoE software. You should use it instead of Enternet 300.
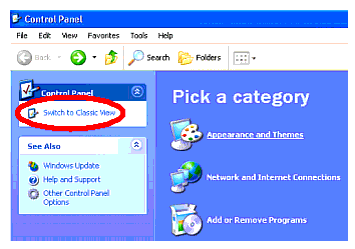
- From the Start menu, select Control Panel.
- Make sure you are viewing the Classic View. If instead you are in Category View, select Switch to Classic View from the upper-left of the window.
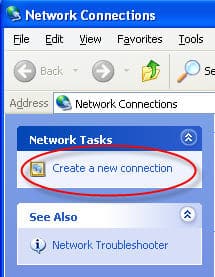
- Double click the Network Connections icon.

- In the Network Tasks list, select Create a new connection.
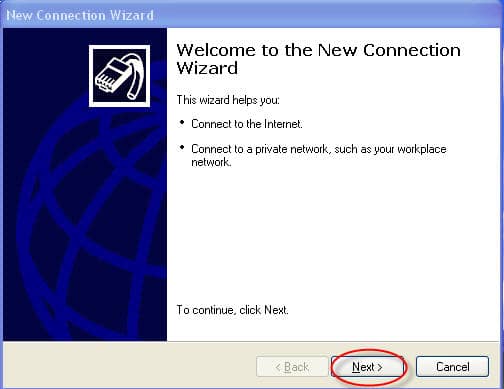
- The New Connection Wizard will open; click Next.
If you are setting up your connection for the first time:
- Choose your country, from the drop-down list and enter your area (or city) code:
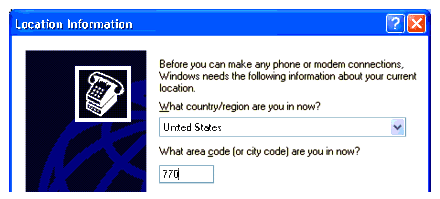
Note: Do not change any of the other settings on this screen. - Click Ok.
- Click Ok on the Phone and Modem Options screen.

- Click Next on the Welcome screen.
- Select the Connect to the Internet radio button and click Next.
- Select the Set up my connection manually radio button and click Next.
- Select the Connect using a broadband connection that requires a user name and password radio button, and then click Next.
- In the ISP Name field, enter a name for the connection (e.g., "AT&T High Speed Internet") and click Next.
- On the Connection Availability window, click Next.
Note: If you choose a button other than the default Anyone who uses this computer, connections or downloads will continue uninterrupted even if the logins are switched between users, on your computer. - On the next screen:
- In the User Name field, type your Member ID. Remember, your Member ID is your entire AT&T email address (e.g., [email protected]).
- In the Password field, enter your AT&T password.
- Check the first two check box options. (Although Internet Connection Firewall is compatible with our service, we recommend disabling it when troubleshooting.)
- Click Next.
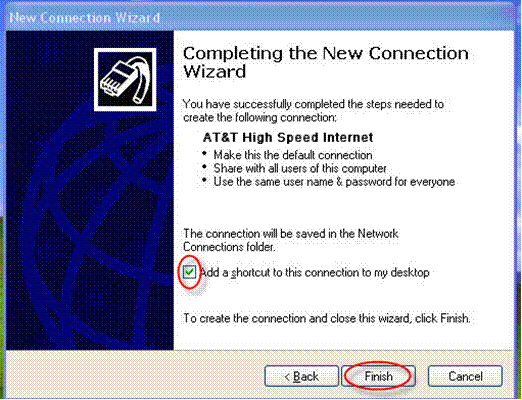
- Click Finish to save your new connection.
- In the Network Connections window, select the connection you just created. Then click Change settings of this connection from Network Tasks.

- On the Networking tab, select Internet Protocol (TCP/IP) and click Properties.
Note: The box beside File and Printer Sharing for Microsoft Networks should be unchecked.
- On the Internet Protocal (TPC/IP) Properties screen, make sure the radio buttons for Obtain an IP address automatically and Obtain DNS server address automatically are both selected. Click OK.

- Click OK.
Last updated: December 7, 2022
Browse topics
Dedicated Internet & Data Transport
Installation & setup
Order status
Plans & features
Speed, Wi-Fi & troubleshooting
Explore AT&T Dedicated Internet and AT&T Data Transport services.