")
In this tutorial, you will learn how to:
• Access contacts
• Select contact options
• Add a contact
• Edit a contact
• Delete a contact
• Share contacts through NameDrop
Access contacts
To access contacts, from the clock screen, press the Digital Crown/Home button then navigate to and select the ![]() Contacts app.
Contacts app.
Note: Alternately, you can also access your contacts in the Phone app.
Select contact options
Select the desired contact, then select the desired option.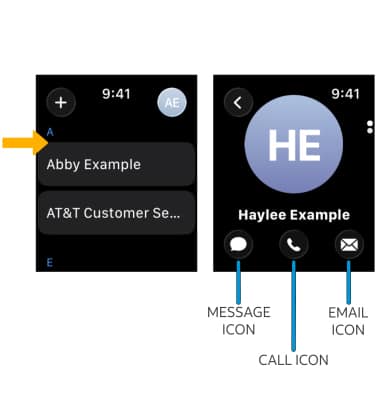
• CALL: Select the Call icon.
• MESSAGE: Select the Message icon.
• EMAIL: Select the Email icon.
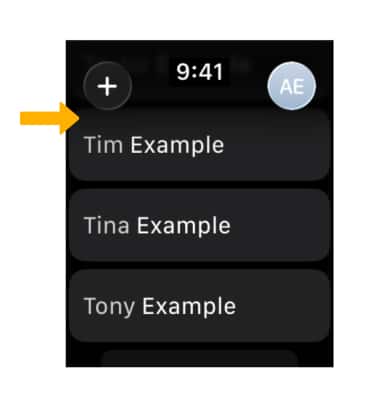
Add a contact
1. To add a contact, from the Contacts screen, select ![]() Add icon.
Add icon.
2. Enter the desired contact information in the corresponding fields. When finished, select the Checkmark icon.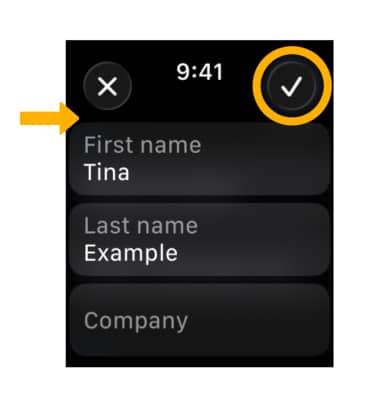
Edit a contact
1. To edit a contact, from the Contacts screen, scroll to and select the desired contact.
2. Swipe up, then select the Edit icon.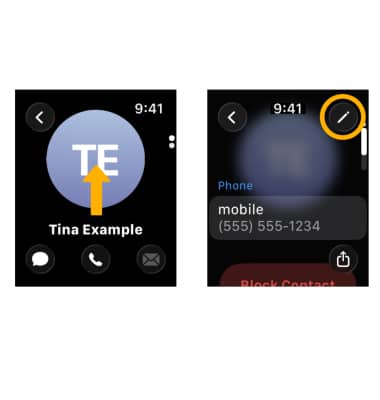
3. Edit the contact information as desired, then select the Checkmark icon when finished.

Delete a contact
To delete a contact, from the desired contact, swipe up then scroll to and select Delete Contact.
Note: You will be prompted to select Delete Contact again to confirm.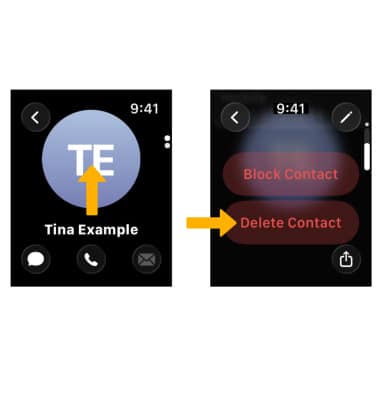
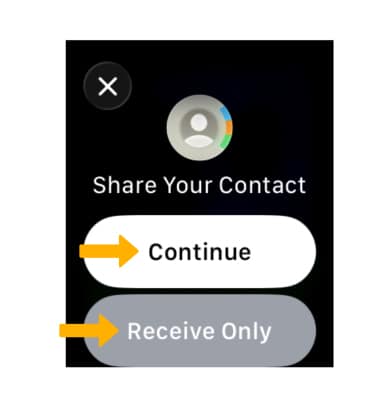
Share contacts through NameDrop
Hold your Apple Watch near an iPhone or another Apple Watch (Series 7 or later, Apple Watch SE 2nd generation, and all Ultra models) to use NameDrop. You’ll both be able to choose the specific phone numbers or email addresses you want to share, and you can share them along with your Contact Poster instantly. For information about Contact Posters, visit Apple's support site. When sharing a contact through NameDrop, you will be prompted to select either Continue or Receive Only. Select Continue to share your desired contact information. Select Receive Only to edit and save a new contact.
Note: You have to have your My Card set up to share contact information via NameDrop. Shared contacts will be added to the Contacts app.