")
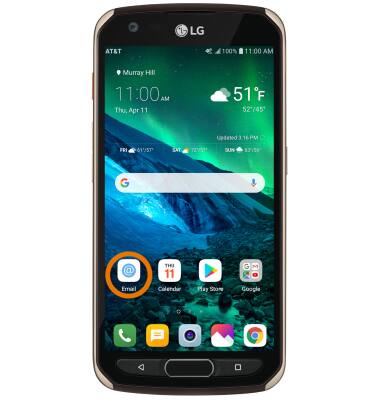
Note: In order to access email settings, you must have already Set Up Email.
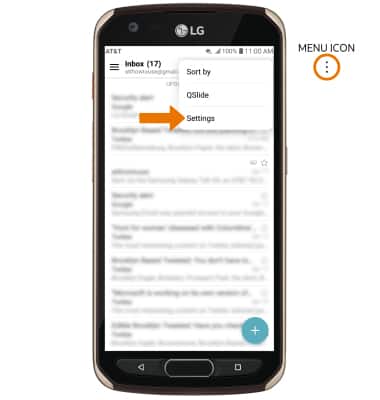
2. Select the Menu icon, then select Settings.
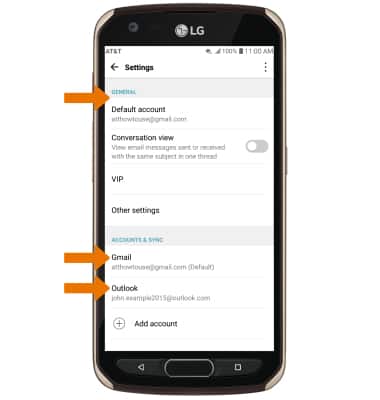
3. Edit email settings as desired. To change settings specific to an account, select the desired account.
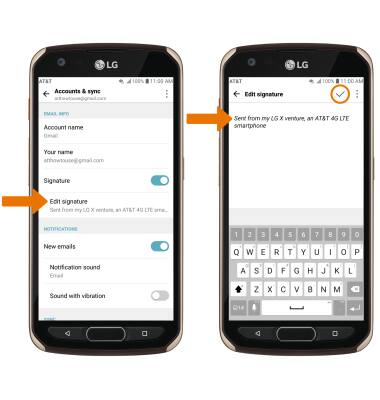
4. EDIT EMAIL SIGNATURE: Select Edit signature > enter the desired email signature > select the Checkmark icon.
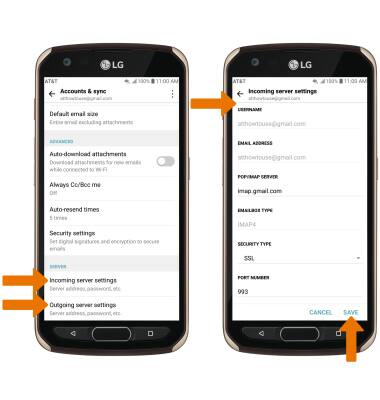
5. CHANGE ACCOUNT SERVER SETTINGS: From the desired account's Settings screen, scroll to and select Incoming server settings or Outgoing server settings > enter desired server settings > SAVE.
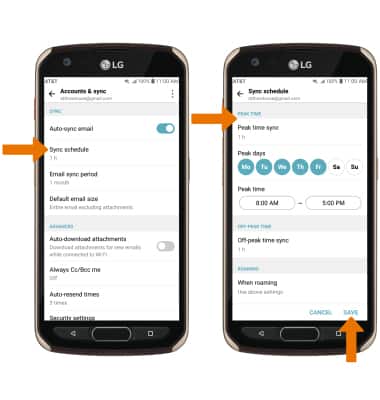
6. EDIT SYNC FREQUENCY: From the desired account's Settings screen, scroll to and select Sync schedule > enter the desired sync preferences > select SAVE.
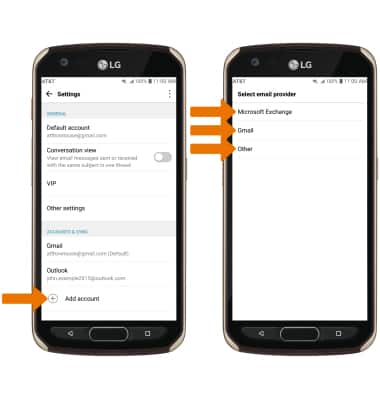
7. ADD ADDITIONAL EMAIL ACCOUNTS: From the email Settings screen, select Add account > desired email provider > follow the prompts.
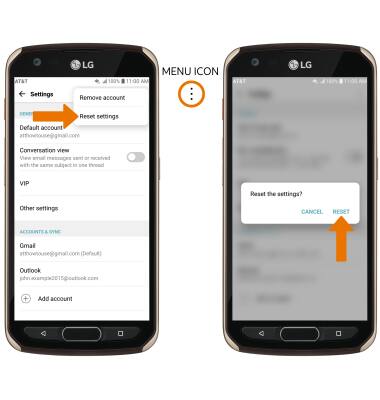
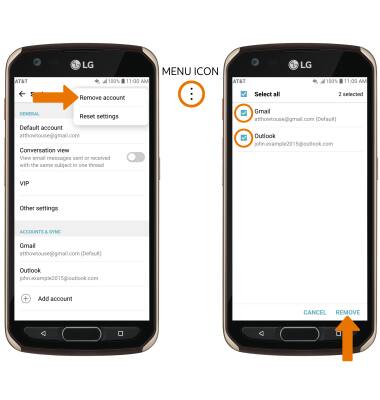
8. DELETE AN EMAIL ACCOUNT: From the email Settings screen, select the Menu icon then select Remove account. Select the desired checkboxes then select REMOVE to confirm this action.
9. RESTORE DEFAULT EMAIL SETTINGS: From the email Settings screen, select the Menu icon > Reset settings > RESET.