")
In this tutorial, you will learn how to:
• Access and view email
• View, save, or share an attachment
• Compose an email and add an attachment
• Reply, reply all, or forward an email
• Mark, move, or archive an email
• Switch between email account inboxes
Access and view email
When a new email is received, a  Notification badge appears on the
 ![]() Mail app.
Mail app.
1. To view new emails, select the ![]() Mail app from the home screen.
Mail app from the home screen.
2. To view an email, select the desired email from the desired inbox.
3. To refresh the inbox, swipe down.
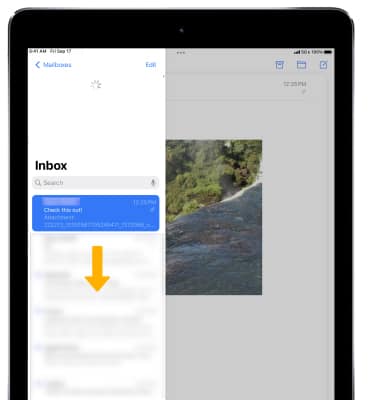
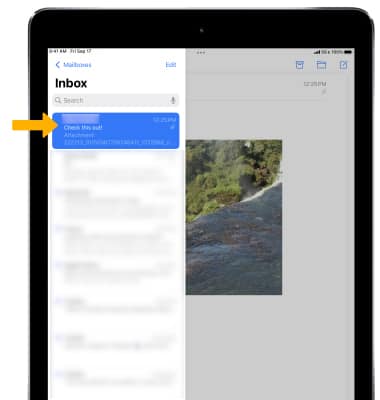
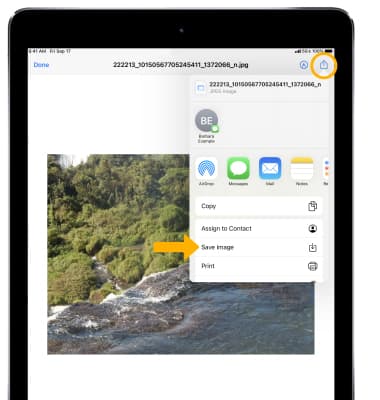
View, save, or share an attachment
1. To view an attachment, select the attachment to download the image or file.

2. To save or share the attachment, select the desired attachment.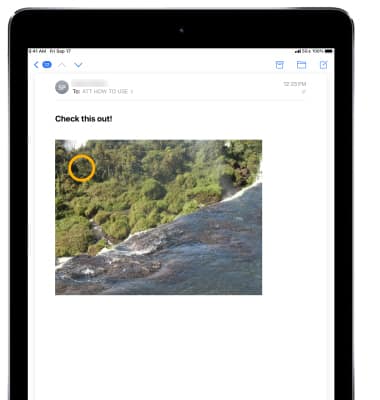
3. Select the ![]() Share icon, then select Save Image to save the image. Select the desired sharing method, then follow the prompts to share the attachment.
Share icon, then select Save Image to save the image. Select the desired sharing method, then follow the prompts to share the attachment.
Note: Attachments are saved according to their file type. To view saved photos and videos, from the home screen select the Photos app. To view saved PDF documents, from the home screen select the Books app. To view saved music, from the home screen select the Music app.
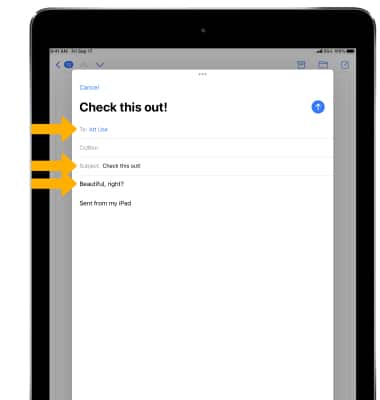
Compose an email and add an attachment
1. From your inbox, select the  Compose icon.
2. Enter the desired recipient, subject, and message.
Note: As of iOS 13, you can edit a variety of formatting options such as font style, size, color, alignment, indenting and outdenting text, and numbered and bulleted lists.
3. To add an attachment select the desired option then follow the prompts. To attach a photo, select the  Camera icon. To attach a file, select the
  File icon. Select the
  Send icon when finished.
4. To format your email, select the ![]() Text icon then edit email format as desired.
Text icon then edit email format as desired.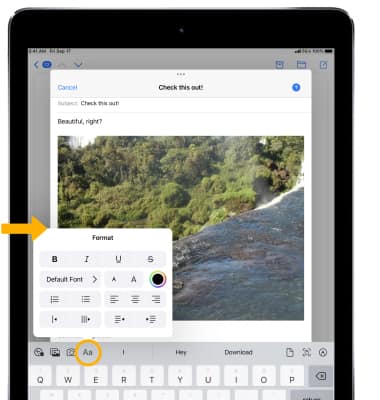
Reply, reply all, or forward an email
Select the ![]() Reply icon, then select the desired option.
Reply icon, then select the desired option.
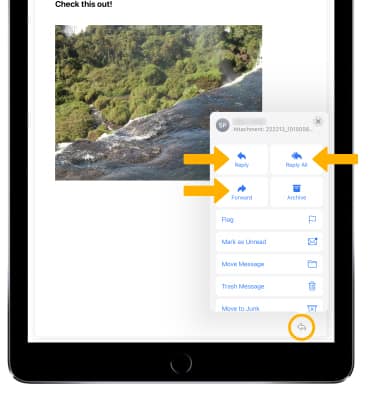
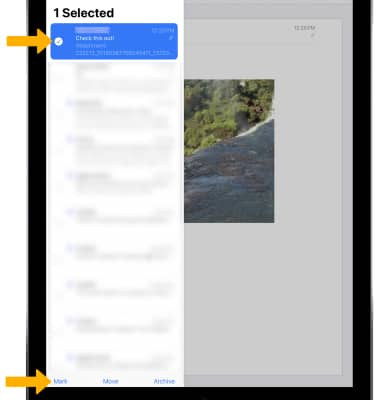
Mark, move, or archive an email
1. From the desired inbox, select Edit. 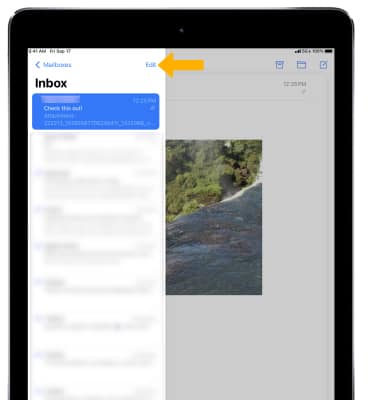
2. Select the desired message(s), then select the desired action.
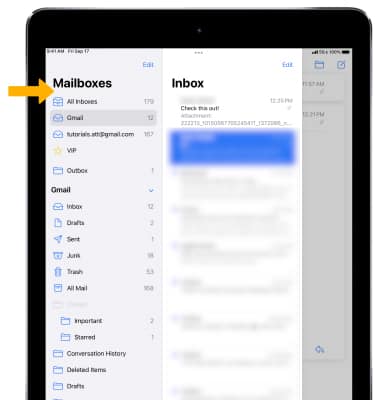
Switch between email account inboxes
1. If you are already in an inbox, select the back arrow in the upper left corner of the screen to get to the Mailboxes screen. 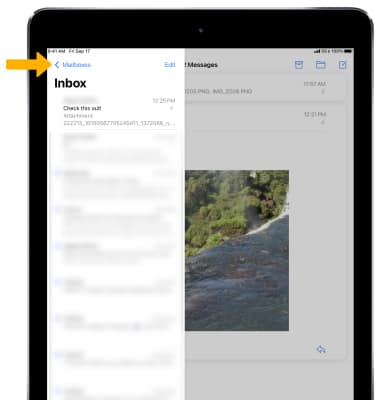
2. Select the desired Inbox.