")
In this tutorial, you will learn how to:
• Perform the initial setup
• Navigate the home screen and access settings
• Manage pictures and videos (featuring Highlights and Flashbacks)
• Restore and manage your files
Initial setup
1. Navigate to and select ![]() AT&T Cloud.
AT&T Cloud.
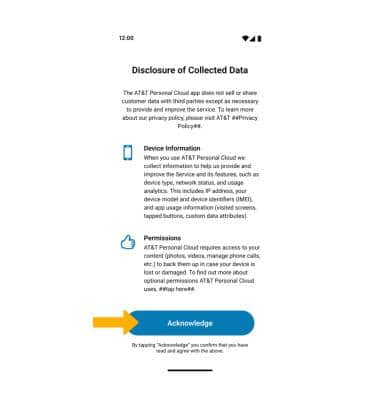
2. Select Acknowledge.
3. Select Get Started.
Note: For more information, visit Get Started with AT&T Personal Cloud.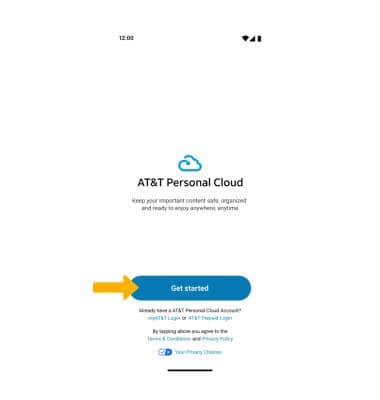
4. Review the Protect your memories prompt, then select the desired option.
Note: AT&T Personal Cloud is free for the first 30 days. After that, you will be billed. If you select Accept, you will be prompted to select the desired content classes for backing up your data.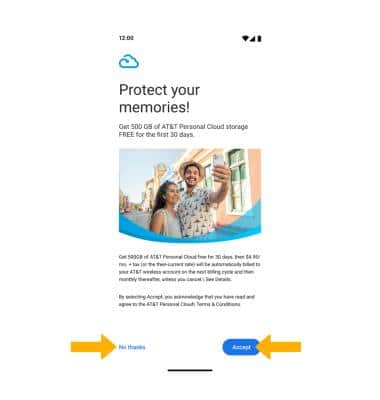
5. If prompted, enter the AT&T user ID and password for your wireless number, then select Sign in.
Note: If your SIM is inserted in an EAP-capable device, you may be logged in automatically. Your AT&T Personal Cloud account must be linked to the phone number assigned to the account.
6. Select the checkmarks next to the desired content you wish to back up from your device, then select Next.
Note: Denying permission will prevent the app from backing up the associated content.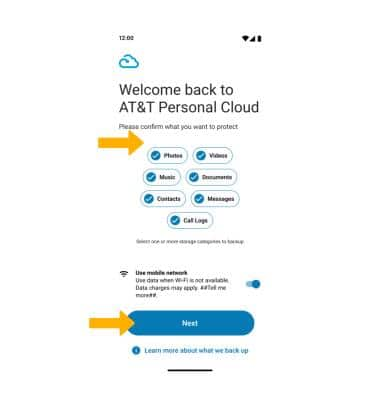
Home screen navigation
The home screen provides a view of content that has been recently backed up.
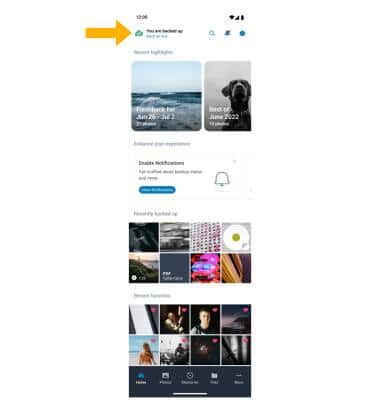
1. A Successful Backup is indicated in the top left corner (green cloud with checkmark icon).
2. Scroll to view all content. 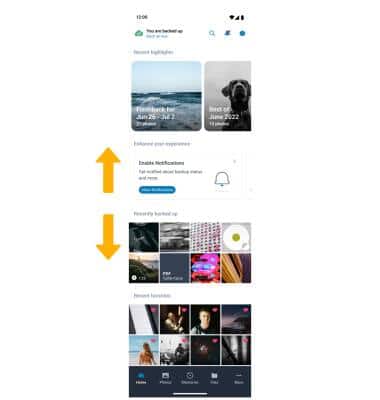
Settings
From the Home screen, select the![]() Settings icon. From the Settings menu, you can:
Settings icon. From the Settings menu, you can:
-
-
- View current storage/change plan
- Select what to back up and how
- Manage storage
- Manage notifications
-
Note: Available content types will vary based on OS:
-
-
- Android: Contacts, Photos, Videos, Music, Documents, Messages, Call History
- iOS: Contacts, Photos, Videos
-
Highlights
The Highlights view highlights select photos allows the user to save the Highlight as an album.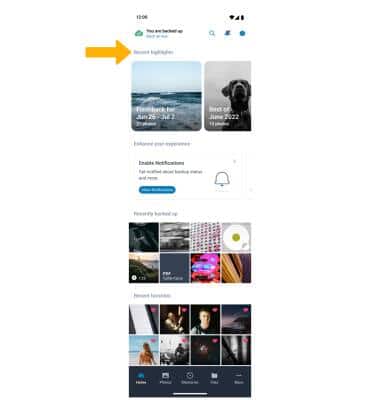
Flashbacks
The Flashbacks view presents a custom curated selection of photos and videos from this week a year ago.
Note: If there are no flashbacks available, the user will get a message indicating that no flashbacks are available from this week.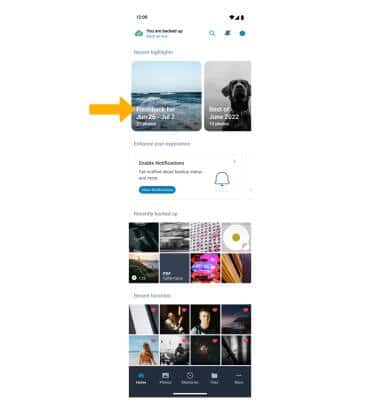
Manage Files & Restore Content
We’d be sad to see you go, but should your needs change, please ensure your content is saved prior to canceling service.
To manage your files, visit how to restore cloud content to your phone.